Patient Profile Tab
This is where we keep basic information for the patient.
When clicking on the "Profile" tab this is the menu that you will see.
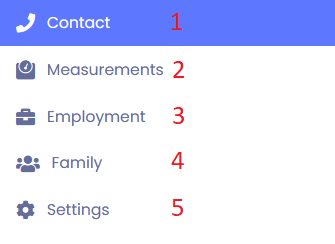
From top to bottom (1-6) we will go through each tab.
- Contact Information is where you will enter the patient's name, numbers, address, etc. There is a field labeled "Preferred Name" that you can utilize that will let you add a name like "Chris" instead of "Christopher" for their profile and it will also apply to automated messages.
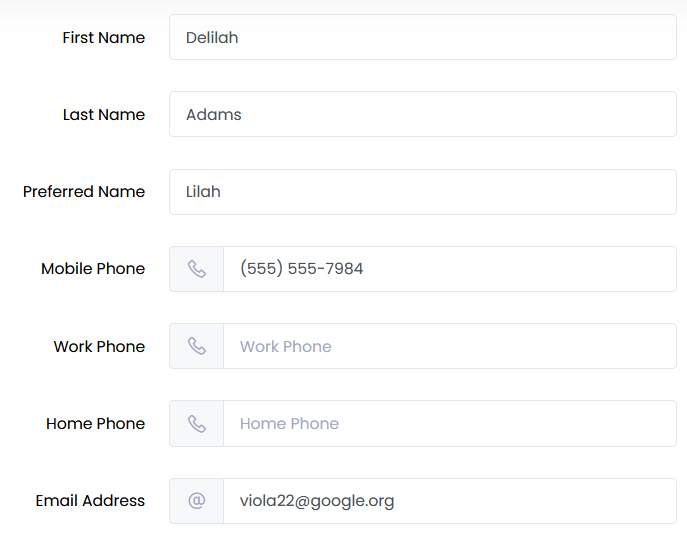
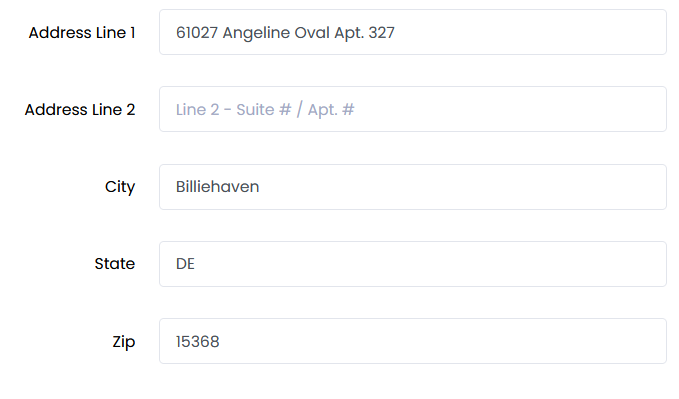
- Measurements is where you enter the height and weight of the patient.

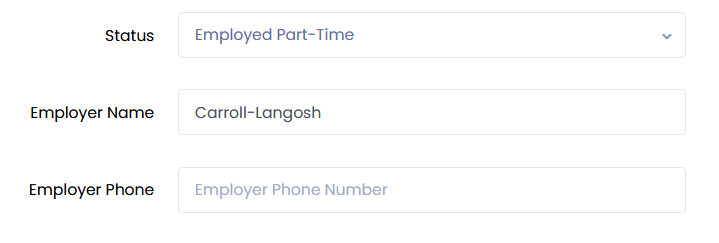
- Employment Information will list status, name, and phone number.
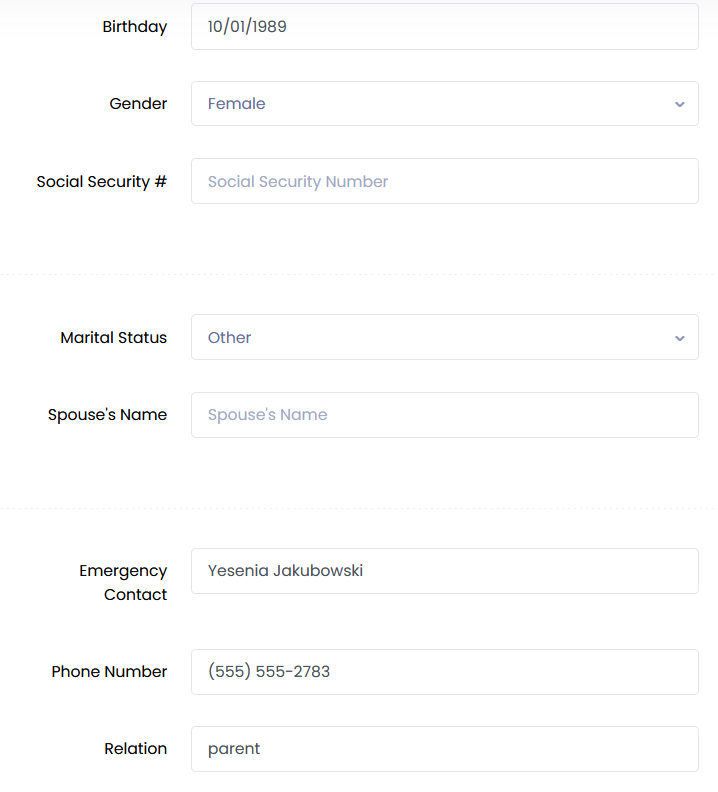
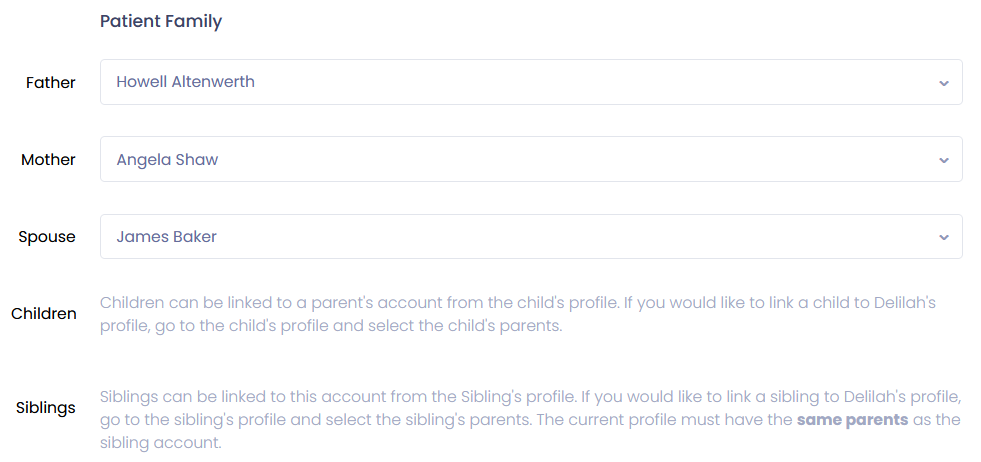
- Family Information stores basic family information like parents, spouse, and children.
- Settings this area contains general settings like provider, custom intake forms, tags, and automated messages. Tags will allow you to segment/categorize/organize your patient list.
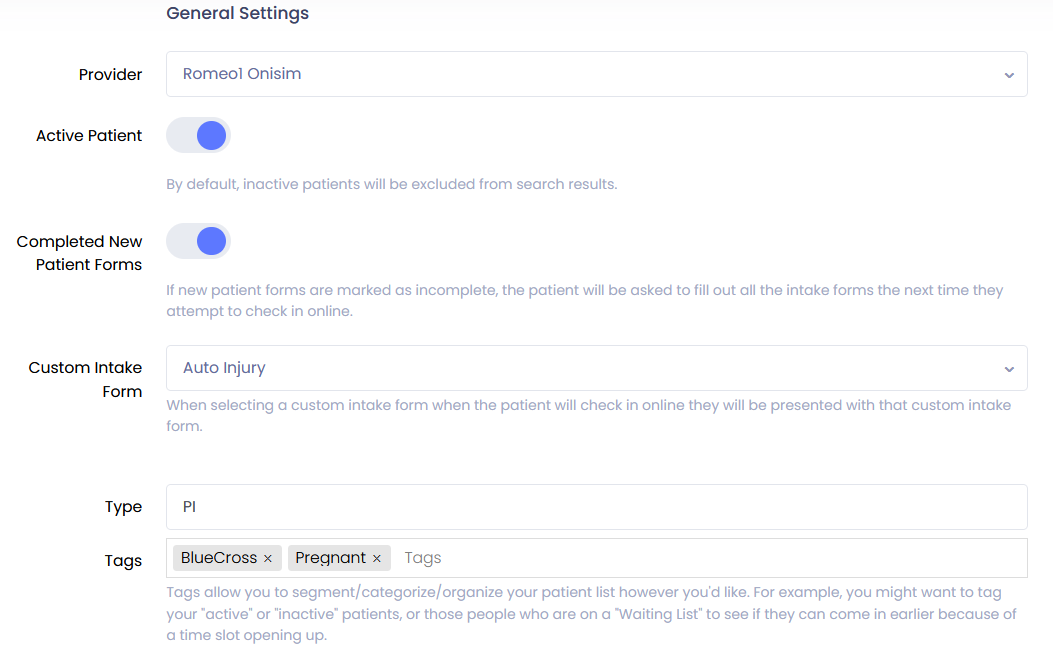 Active Patient - This slide when blue, the patient is active. If it is toggled to grey it makes the patient inactive.
Completed New Patient Forms - If this slide is blue, the patient has completed the new patient intake forms. If this slide is grey, the forms have not been completed.
Automatic messages will be sent to the patient if this slide is blue, if it is grey they will not be sent. This applies to appointment reminders and other messages.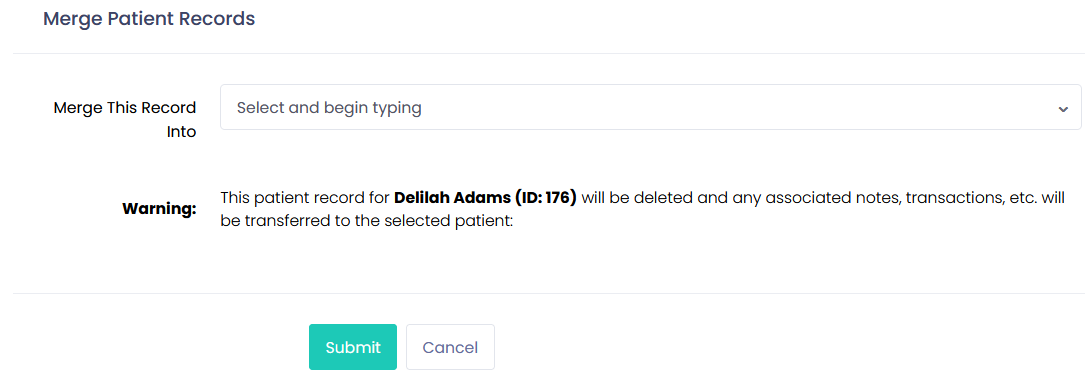 This allows you to merge patient records. This would be used if you had duplicate patients. Select the drop down to select the patient you are merging this record with.
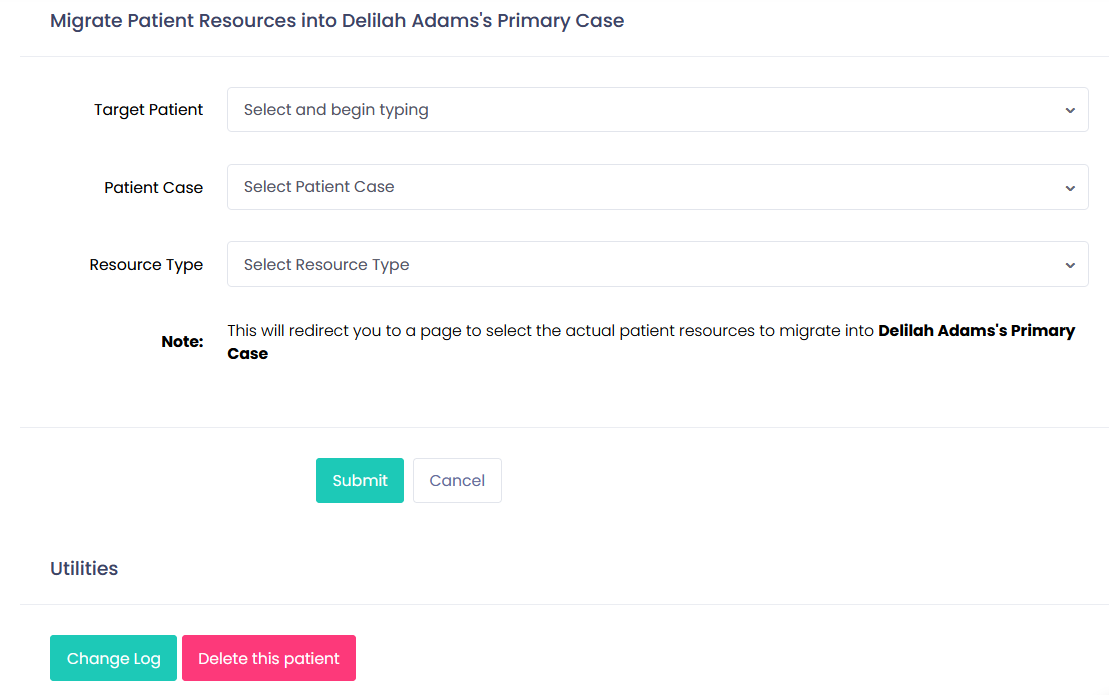
This area is used to merge specific resources without merging an entire patient. You can select case type(s) from the "Patient Case" drop down. From the "Resource Type" drop down, you can select claims, chart notes, transactions, and more.
Finally, we have the option to delete the patient or view the change log. Viewing the change log will show any changes to the patient, the date the change was med, and what user made the change.

This sums up the Profile Tab.